From Fabric to Tome: A Step-by-Step Guide to Making Your Own Book Cloth
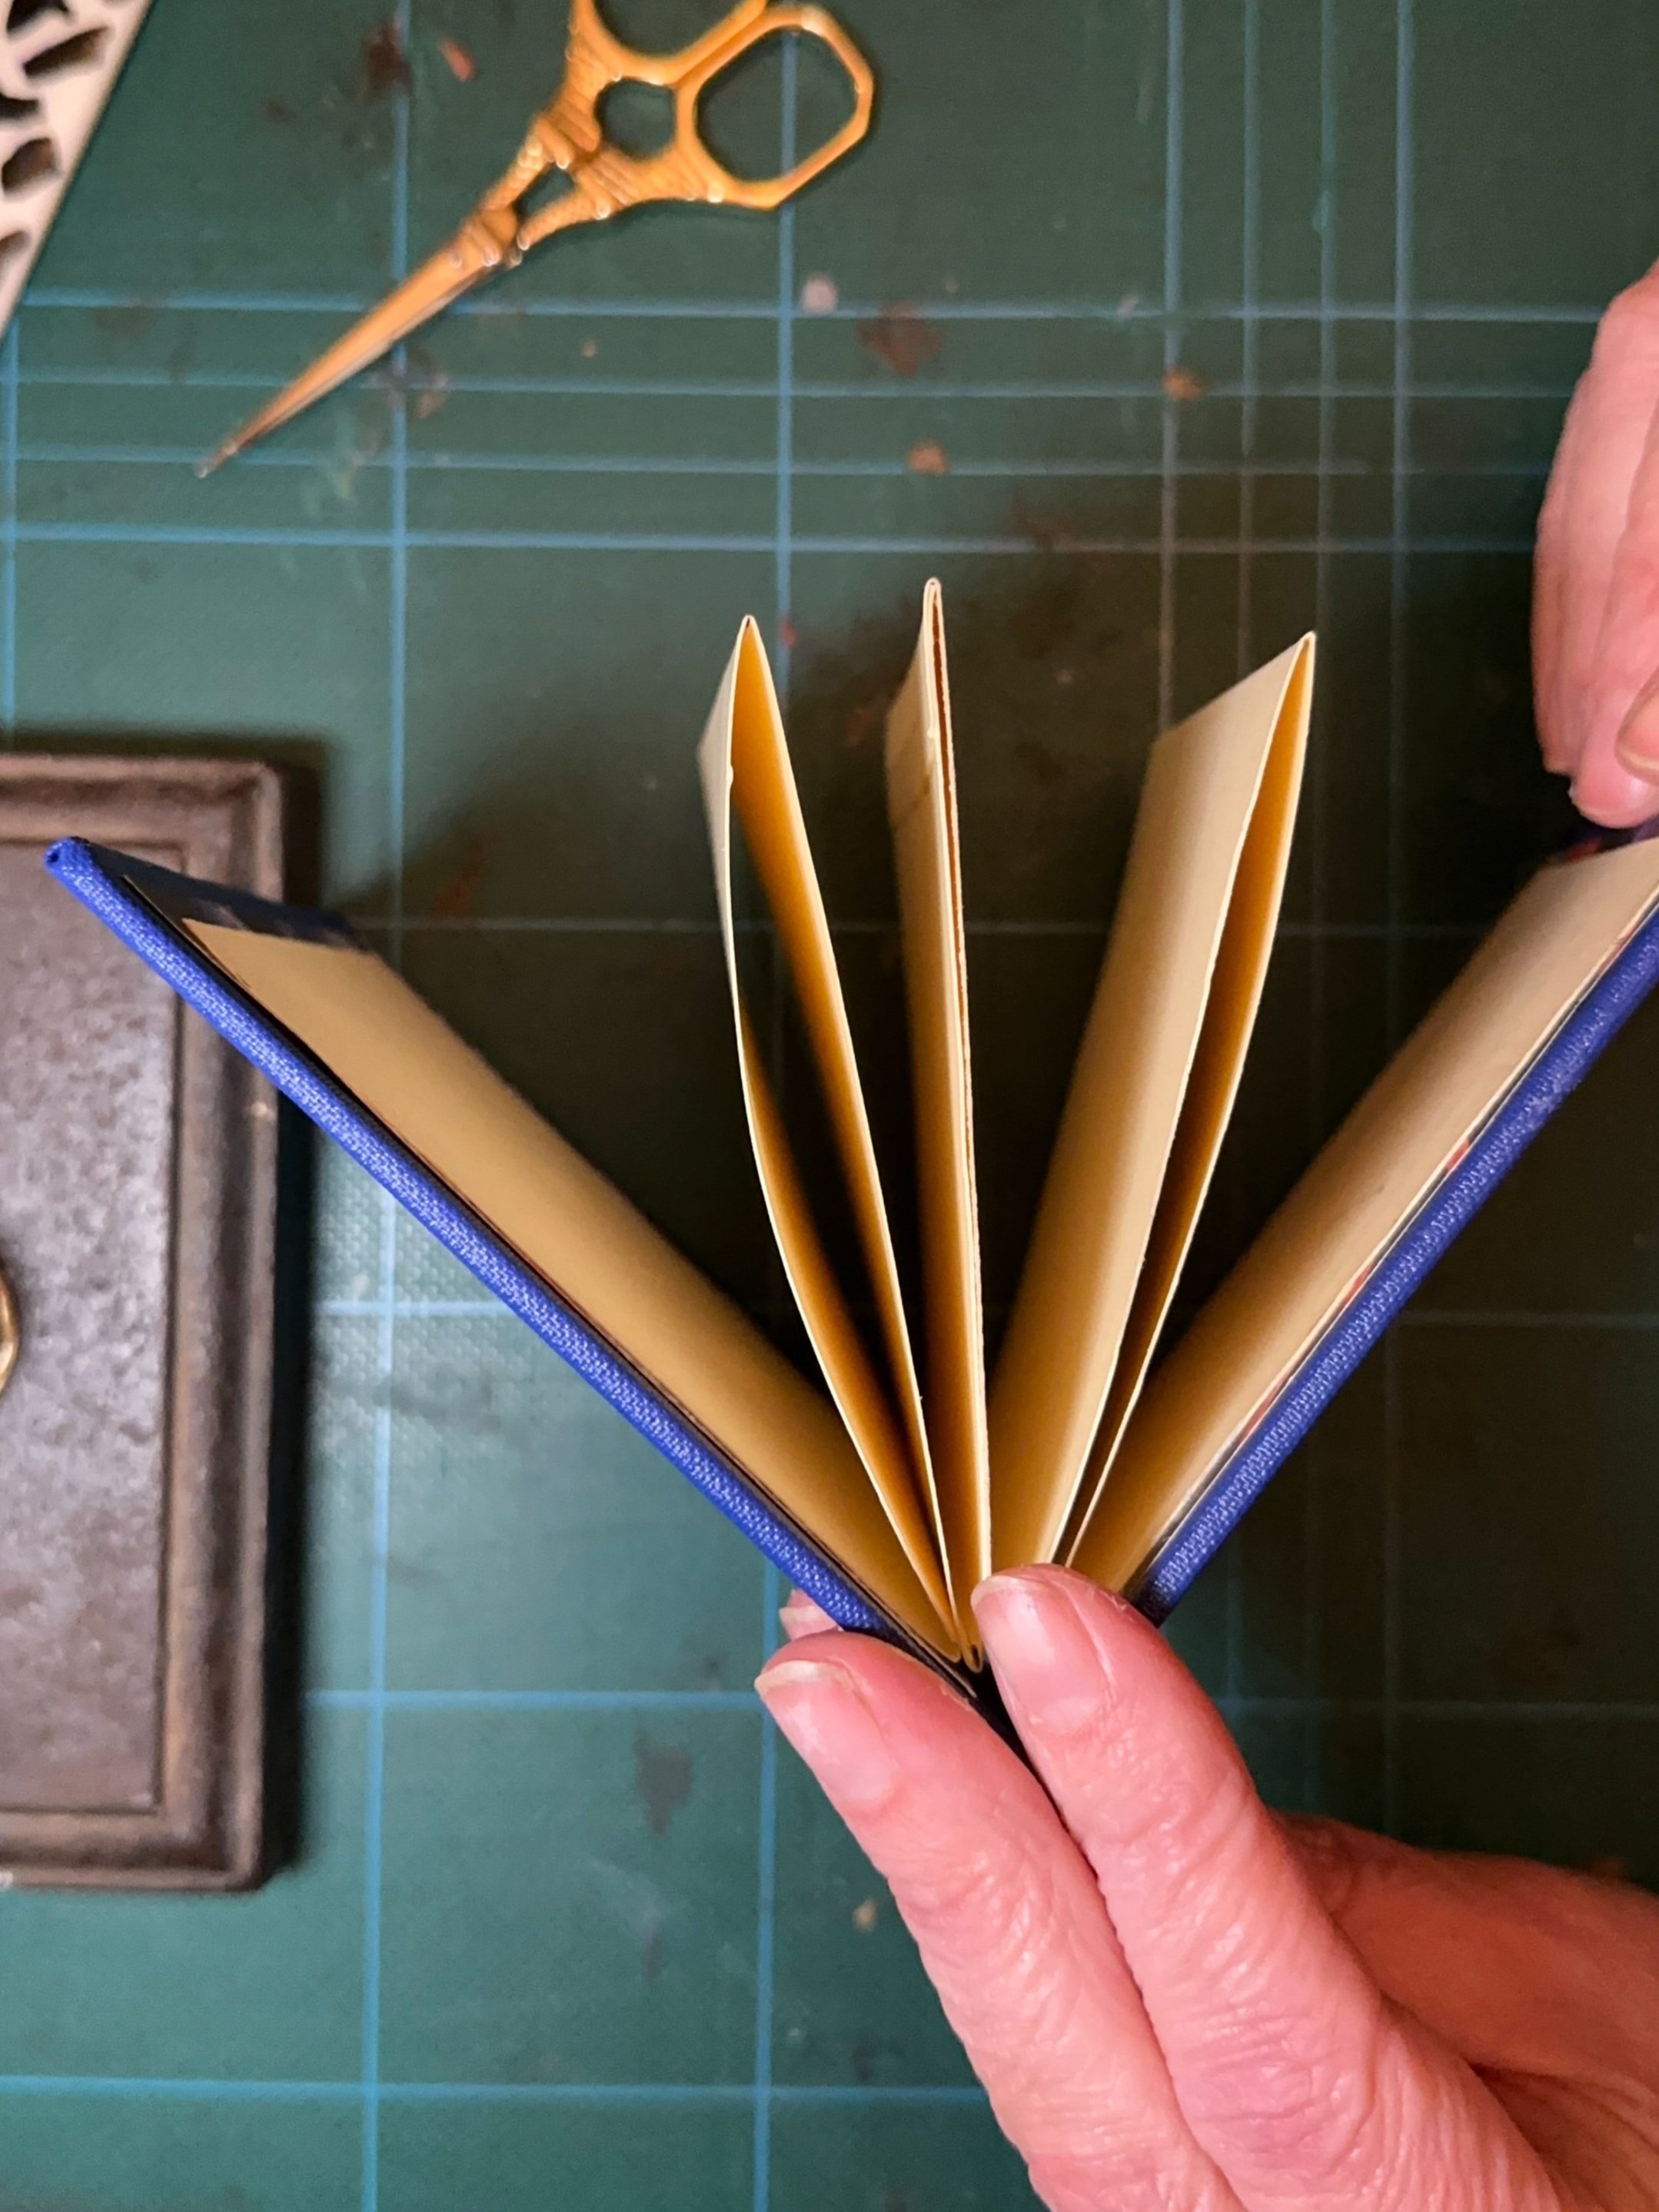
With the recent launch of our online course, The Beginner’s Bookbinding Blueprint we have been talking a lot about bookbinding materials. In our beginner’s course (both online and in person) we create a half bound cloth binding. This style of binding has a hardcover, with a cloth spine and decorative papers on the sides of the cover. The spine material used in this binding is ‘bookcloth’ or can be ‘buckram’. To the beginner, this may be an unfamiliar material and can be something perceived to be really hard to find.
So what is book cloth?
Buckram, muslin, canvas and linen are all used for various purposes in bookbinding. Book cloth is a specially designed fabric used in bookbinding to cover and protect the exterior of a book. It’s usually made from cotton, linen, or a blend of both, and is often starched and coated with an acrylic or vinyl material to provide durability and resistance to wear and tear. A good book cloth should not stretch easily, should be reasonably resistant to water, and have a fairly tight weave to prevent adhesives from seeping through. Obviously if you just do a Google search for ‘book cloth’ or ‘buckram’ you will find there is a vast array of options for purchasing ‘ready-made’ book cloth, but if you are interested in really unleashing your creativity, you’ll be pleased to know that it is possible with a little trial and error, to make your own!

DIY bookcloth
There are actually several ways to make your own book cloth. Which one you choose will ultimately depend on how you want to use your book and the result you would like to achieve. Read on below for a few options, with the pros and cons of each method.
IRON - ON BOOKCLOTH
We’re starting with the easiest one! You only require a few basic items to complete this.
WHAT YOU WILL NEED:
Fabric (a cotton or linen fabric works best)
Iron-on adhesive (like Heat n’ Bond Ultrahold)
Tissue paper or Japanese rice paper
Baking paper
Iron.
STEP 1:
Place your fabric, face down, on your cutting mat and cover with a matching amount of iron-on adhesive (eg. Heat n’ Bond Ultrahold - available from Spotlight or similar stores) and cut the amount required.


STEP 2:
Use an iron to adhere the iron- on adhesive to the back side of your fabric (follow the instructions on your chosen product for this step).
STEP 3:
Allow your fabric and adhesive to cool and remove the protective backing from the adhesive. Place your tissue paper over the adhesive and usse your baking paper to protect the tissue from direct contact with the iron. Iron the tissue onto the adhesive. The heat from the iron will activate the adhesive, while the baking paper will stop the tissue from burning.
Finally, complete your bookcloth by trimming the edges to ensure that both the fabric and tissue lining are fused together.
PROS: Mess free, only a few steps, quick to do
CONS: Fabric won’t be water resistant, Fabric can mark, easily - (ie. not ideal for recipe books!), fabric can not be hot foiled or embossed.
PASTED BOOKCLOTH
This is almost identical to the previous method with the main difference being using a paste to adhere the fabric to the backing tissue.
WHAT YOU WILL NEED:
Fabric (a cotton or linen fabric works best)
A batch of paste (Click here for how to make your own Wheat Paste)
Tissue paper or Japanese rice paper
STEP 1:
Cut your fabric and tissue paper to the required size.
STEP 2:
Place your fabric face down on a hard surface such as your bench or a piece of stone if you have one. Next you are going to paste one side of the tissue.
STEP 3:
Apply a thin layer of paste to one side of your tissue. Gently lift the paper (it will want to curl so lift both edges at the same time) and place the pasted side of the tissue onto the back of your fabric.
STEP 4:
Use your hand or a rolling pin to smooth down the paper on the fabric. You need to press or roll out any air bubbles but you should try to avoid pressing the paste through the fibres of the fabric.
STEP 5:
Leave your book cloth to dry overnight. Trim the edges. It is now ready to use.
PROS: Very inexpensive, Easy to make, Not time consuming (excluding drying time)
CONS: Can be messy, Fabric won’t be water resistant, Fabric can mark, easily - (ie. not ideal for recipe books!), fabric can not be hot foiled or embossed.
COATED BOOKCLOTH
The final method we’ll explore in this post is for a ‘coated’ or ’filled’ book cloth. Again there are several methods to do this using slightly different ingredients. This is the most complex of the three but the result is the most like the book cloth that we would use in the bindery on a regular basis.
WHAT YOU WILL NEED:
Fabric (this method requires a tightly woven cotton or linen)
Acrylic medium (available in art supplies shops like Zart Art)
Starch Paste (The bindery one is from the UK - but I used this Silver Star one that is easy to find)
A piece of stone, glass or heavy plastic
Paste Brush or Mini Paint Roller
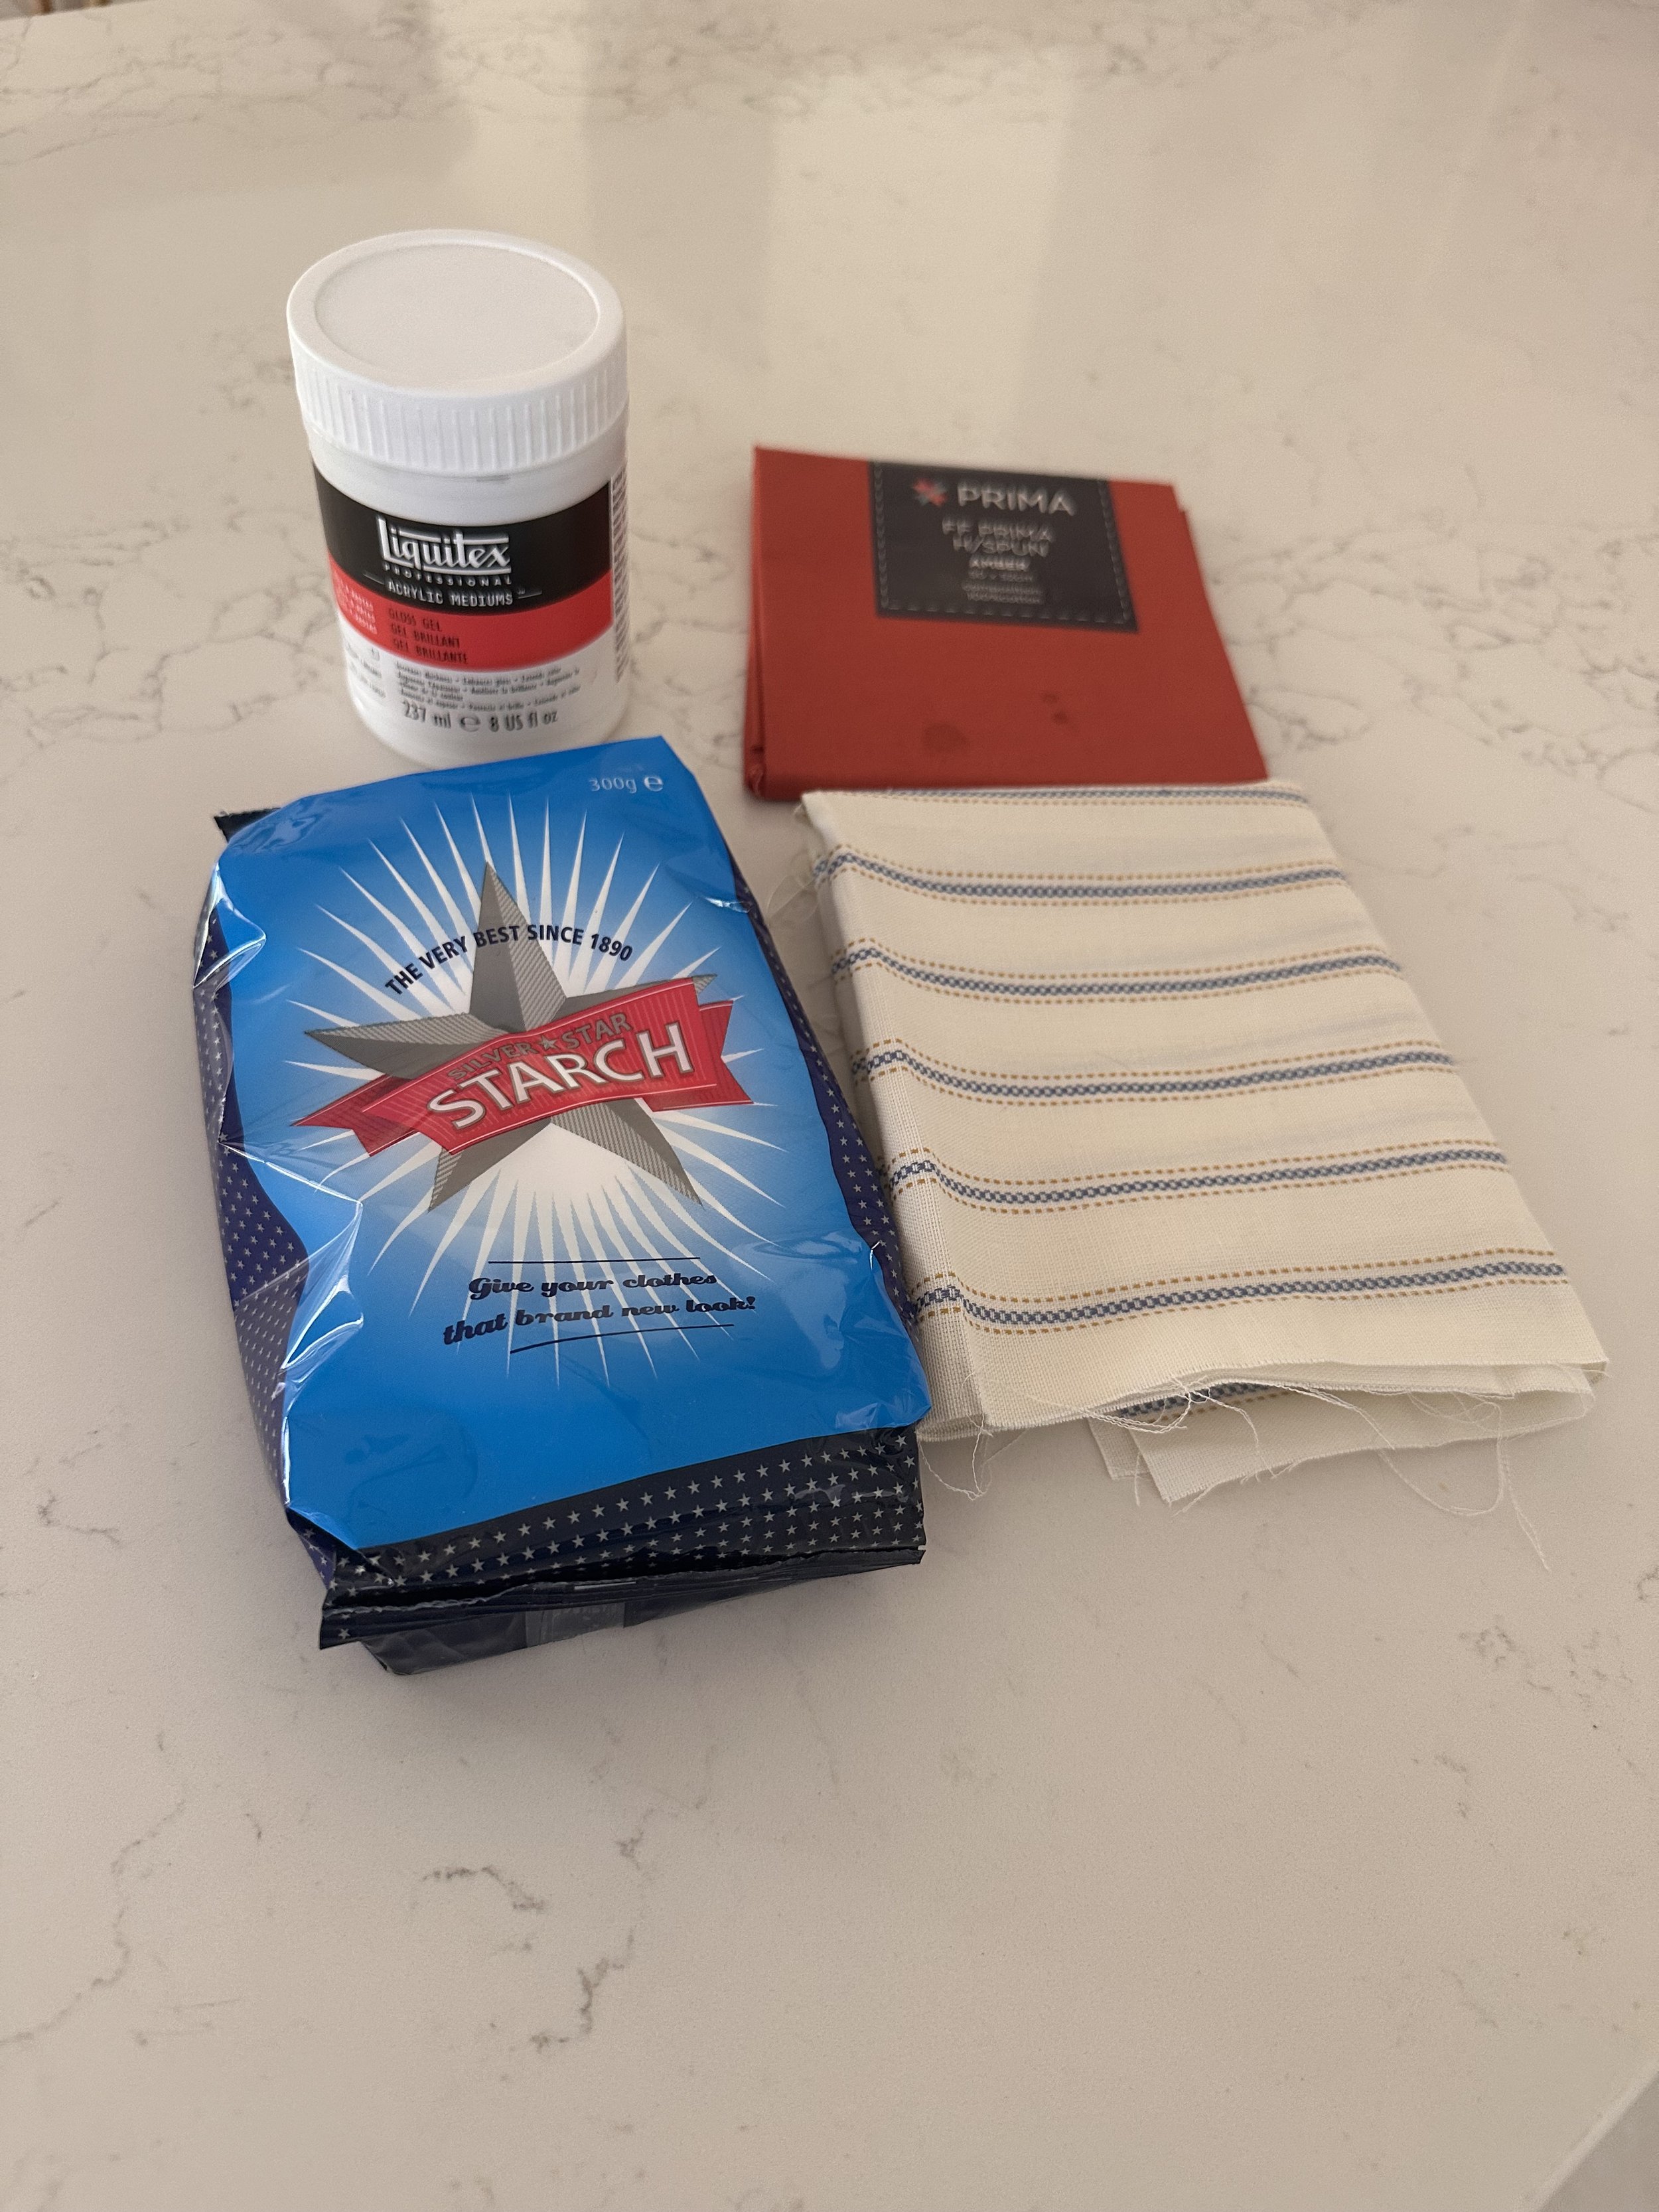
Acrylic medium, Cotton Fabric, Silver Star Starch
STEP 1:
Cut your fabric so that you have enough for your book cover - make sure you allow extra for turning the fabric over the cover boards, plus about an extra 2cm on one short edge.
STEP 2:
Make some starch paste by mixing a tablespoon of starch powder with about 4 - 5 tablespoons of water & microwave for 20 seconds. Whisk while warm to get rid of lumps.

STEP 3:
In a small dish or bowl, mix the starch paste with the acrylic medium in a ratio of 1:1. How much you mix will depend on how much fabric you want to coat/fill. For one small book approximately 50ml of each (100ml) adhesive in total is more than enough.
STEP 4:
Lay your fabric on the stone/glass/plastic. Coat the entire side (excluding the extra 2cm on the top edge- I taped my edge) with a thin but even layer of the adhesive mixture. Use brush strokes from the top to bottom, slightly overlapping each stroke to ensure no gaps.
STEP 4:
Turn the fabric over and repeat step 3 on the other side,(again excluding the top 2cm on the same top edge) ensuring no gaps.
STEP 5:
Depending on the temperature/humidity and if you are using air conditioning, the book cloth will completely dry overnight. My preferred method for drying is to leave it on the piece of stone until just tacky but not completely dry, then peel off the stone and peg the top edge that you didn’t apply glue to on a drying rack (or clothes line) so that both ‘filled’ sides are not touching anything. To finish trim off the ‘peg edge’ as this hasn’t been treated and you’re ready to use your book cloth.


The end result was a stiffened fabric with a slight but not too obvious coating. The fabric was slightly darker than the original uncoated fabric, but was definitely more resistant to marks. In addition, a huge bonus was that the fabric was able to be embossed with names or decorative elements.
PROS: Protects the fabric with a coating, somewhat water resisant, wipeable, most fabrics treated this way will tolerate hot foiling/ embossing, Gives you huge variety of colour/pattern options
CONS: More expensive than other methods mentioned, Takes a bit or trial and error, Messier than the other methods, Slightly more time consuming